Recently I saw a wreath project online that I really liked:
http://tatertotsandjello.blogspot.com/2010/01/2010-burlap-wreath-and-giveaway.html
When I came home from Hawaii last week it occurred to me that since Valentine’s Day was over I needed new wreaths for the doors. This weekend in a fit of spring fever I decided to make my version of the tatertots and Jello wreath. On a very rainy Friday afternoon, my daughter and I trooped over to the local crafts store to buy wreath forms. While wandering the isles I found a package of spring buttons. Now, of course I have about a million buttons, but that package was all sorted and inexpensive so I picked up the package of buttons and came home to start my project.
I have double front doors so needed to make 2 wreaths. I bought 14″ wreath forms. For the flowers, I cut circles approximately 2″ and 3″. I used 2 charm packs that I had laying around. For those of you who are not quilters, a charm pack is a package of 42 – 5″ squares. I found that if I was creative with my cutting, I could get either 4 – 2″ circles or 2 3″ circles out of each 5″ square. I cut about 100 – 2″ circles and 100 – 3″ circles out of burlap. Out of my other fabrics, I cut about 300 2″ circles and 300 3″ circles.
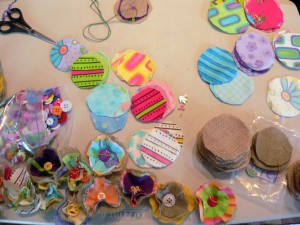
Each flower has 3 circles that are put together with a button. I choose to use perl cotton to sew the buttons onto the flowers. I had a variety of colors of perl cotton so used different colors to attach the buttons. Some of the buttons had shanks so I just attached them from the back using the perl cotton. I left the little tails of the perl cotton thread for extra texture. This is the time consuming part of making these wreaths. It took me Friday evening and Saturday to make all the flowers.
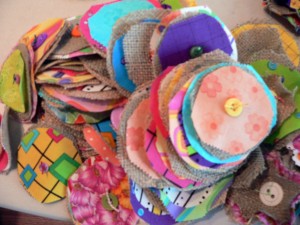
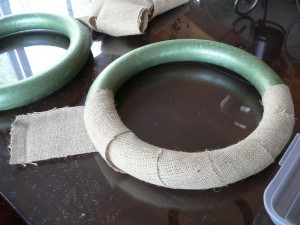
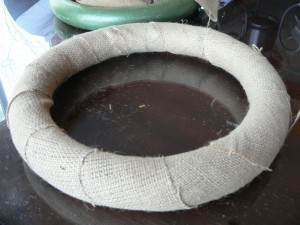
Once the piles of flowers were finished, I covered the wreath with strips of burlap:
At this point, all that was left was to glue the flowers on. I really wanted mine to look like flowers so as I was glueing them, I gathered each up around the button and applied the glue to the back:
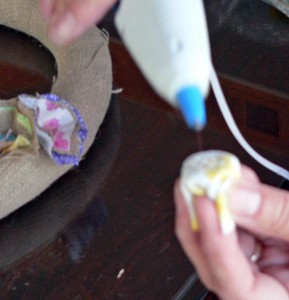
The flowers stay gathered for long enough to get the on the wreath.
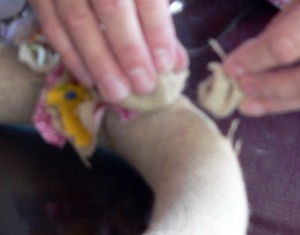
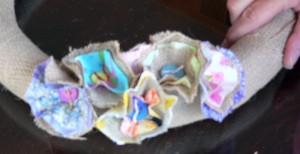
Adding more flowers enhances the gathered shape. I started by spreading the flowers around and then filling in, remembering to look at if from all angles. The top, sides, and inside needed to have flowers. Below is the wreath all finished except for the hanger.
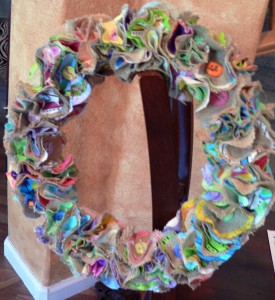
For the hangers, I used 2 strips of fabric and 1 strip of ribbon layered on top of each other. I cut the fabric strips with a zigzag rotary cutter blade across the width of the fabric.
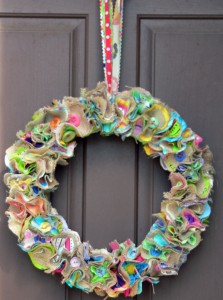
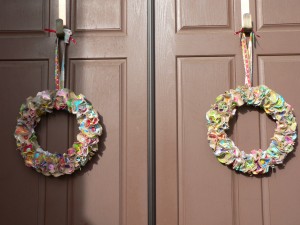
I think they turned out pretty cute and springy!
such light and cherry colors! Amazing what you can do with yoyos! Love these.
Very nice Micchele, I have not bought stuff online before. Would you say it is pretty safe? Wanted one of your bags, let me know, Liz